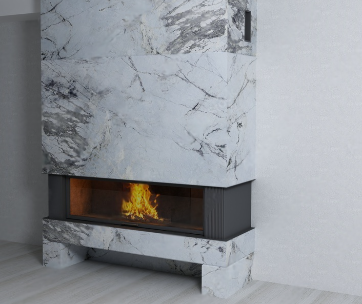
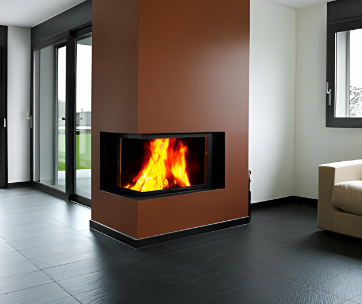
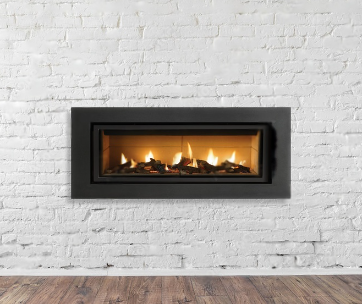
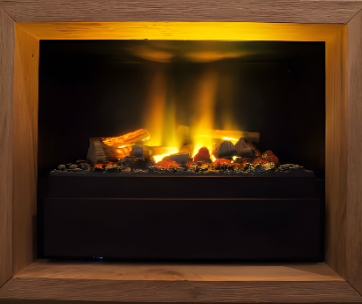
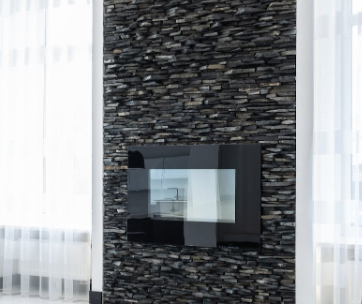
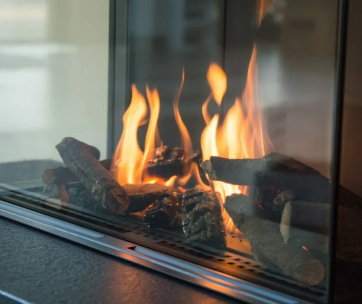
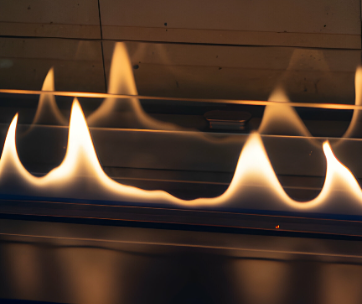
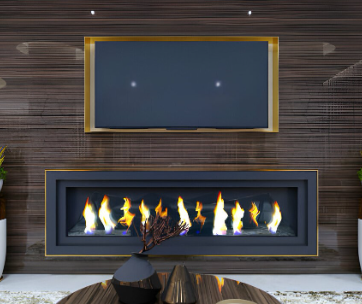
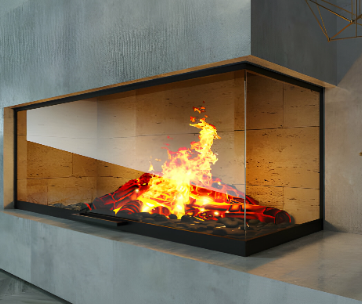
Electric fireplaces come in plenty of design options. Some models are freestanding on the floor, while others are wall-mounted. Generally, you can install wall-mounted units directly against a wall or as built-in electric fireplaces. Of all electric fireplaces, built-in units have the highest visual appeal since they have a cleaner finish and seem like part of the wall.
This article will focus on installing built-in electric fireplaces, which, on paper, are more complicated to install than freestanding and wall-mounted electric fireplaces. However, as complex as it sounds, installing a built-in unit with some guidance is quite simple.
Learning how to install a built-in electric fireplace is an essential piece of knowledge. It helps you upgrade your fireplace’s look and saves time, cost, and space in the room you install an electric fireplace. Furthermore, you will be in a better position to lend a hand to a friend or family member who wants a recessed electric fireplace.
Here is an overview of everything we have touched on in this article:
- What are recessed electric fireplace units?
- Built-in electric fireplace buying guide
- Installation requirements for DIY recessed electric fireplaces
- How to install built-in electric fireplace units
- When to seek assistance with the installation process
- Benefits of built-in electric fireplace units
What are recessed electric fireplace units?
Also known as built-in electric fireplaces, recessed electric fireplaces are units installed on a wall in a cutout area. The rear end of the unit is hidden, and only the outer fireplace frame is visible. They add elegance to a space while increasing comfort through the provision of heat, a crisp fire sound, and realistic dancing flames on screen.
Built-in electric fireplace buying guide
Before you proceed to install a recessed electric fireplace, it is essential you know how to shop for an ideal one first. To narrow down on the perfect recessed electric fireplace for your home, look for the following features:
- Unit size-check on the width, length, and depth to ensure the unit fits your wall’s dimensions. That is to ensure the linear electric fireplace unit is entirely or primarily recessed once you complete the installation.
- A front-vented or ventless unit- A front-vented linear electric fireplace unit uses a fan-forced heater to generate heat and is vented on the side facing the room. Ventless linear electric fireplace units use infrared technology and do not have a vent.
- Heat output- units with an infrared heater can effectively heat a room of up to 1000 square feet, while a linear electric fireplace unit with a fan-forced heater can effectively heat a space of up to 400 square feet. Keeping that in mind, you should opt for a linear electric unit with a heater capable of effectively heating your room size.
- No-clearance certification-a unit of that kind will require no insulation and can come into contact with combustible materials without safety concerns.
Installation requirements for DIY recessed electric fireplaces
You can install a recessed electric fireplace on your own if you have basic woodworking and electrical work knowledge. You will only need the following:
- Caulking
- Wall Finishing
- Framing material
- Screwdriver
- Saw
- Measuring tape
- Pliers
- Drill
- Hammer and nails as an alternative to the drill
- Clearance guidelines from the unit’s manufacturer. Some linear electric fireplace units require a minimum distance of 3 feet from combustible materials.
How to install built-in electric fireplaces
Step 1-Unbox the electric fireplace and test its functionality
You first need to get the unit out of the packaging, plug it into the power outlet, and play with its features to determine if everything works well.
If everything is up to par, proceed to unscrew the front glass to install the unit.
Step 2-Identify the ideal location to install the electric fireplace
Next, identify and mark the perfect place to install the unit on a non-load-bearing wall. Alternatively, if you would like the electric fireplace on the exterior of load bearing wall, you will need to seek the services of a certified contractor.
Step 3-Mark out the dimensions and cut a hole in the wall
Using the tape measure, mark out the dimensions of the electric fireplace on the wall. While doing so, leave an allowance by making every side ¼ inch larger. In addition, use the lever to ensure every side is perpendicular to the sides and floor.
After marking out the dimensions accurately, use the saw to cut into the drywall and remove any studs in the middle. Leave the studs by the sides since they will provide support.
Step 4-Frame the wall opening.
Using the framing material, frame the hole from the inside. The frame will help highlight where the fireplace is going to fit, as well as re-support the wall.
Step 5-Connect the unit to the power source.
You can connect built-in electric fireplaces to a power source through hardwiring or plugging the unit directly into a power outlet. If you opt for plugging the unit into a power outlet, you will need to conceal the unit’s power cord by using a cable trunking system and then blending the trunking to your wall by painting a similar color over it.
On the other hand, if you prefer hardwiring your unit, you will need to get a certified electrician to do it for you. An electrician will ensure the connection is grounded and adheres to all manufacturer and local authority guidelines.
Step 6-Insert the unit in the wall opening
The unit will fit perfectly in the hole because of the ¼-inch allowance. Secure the linear unit by drilling its screw into the wall studs.
Step 7-Insert the unit’s decorative media
Other electric fireplaces have differing decorative media. Some units have fire logs, while others have halogen lamps or glass crystals. That said, proceed to install the decorative media that came with your linear electric fireplace unit.
Step 8-Return the front glass panel
Next, screw the front glass panel back in place. The front glass fits flush with the wall. Hence, it will cover any remaining space between the unit and the wall. After securing the front glass back, use the caulking to attain a clean seamless finish.
Step 9-Switch on the unit and customize it to fit your requirements
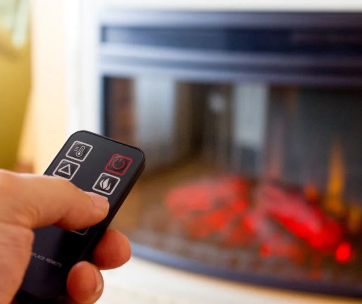
Finally, please switch it on with the linear electric fireplace unit fully installed. Then, using the unit’s remote control, adjust features like the temperature level, timer, flame color, intensity, and sound to create the ambiance you want or match your mood.
When to seek assistance with the installation process
When installing an electric fireplace, it is not necessary you need do everything yourself. Some help will ensure you prevent unintentional little details you may have left out if you are not comfortable with the electrical work, especially when you want your unit hardwired. It is essential to seek the services of a certified electrician. That is because a licensed electrician will ensure the wiring is safe and adheres to all local authority and manufacturer guidelines. Furthermore, the electrician will ensure the unit operates on a dedicated line, preventing the circuit breaker from often tripping, as it would if it is on a shared circuit.
If you want your electric fireplace to be on a load-bearing or exterior wall, you must seek assistance from a certified contractor. Otherwise, you will be putting yourself, and your house in danger since the load-bearing wall may collapse if you do it yourself.
Benefits of built-in electric fireplace units
Most people love built-in electric fireplaces because they seem like part of the wall. The following are additional benefits of built-in electric fireplaces:
- Incorporate new technology-Built-in units, incorporate innovations that make them better than earlier electric fireplace models. The technology includes features such as holographic projection of flames onto the linear electric fireplace unit logs to increase realism or a flame gallery instead of normal flames.
- Low maintenance-Built in units have zero emissions. Therefore, their maintenance work is effortless.
- Easy installation- Recessed electric fireplaces fit snuggly within the wall. Their installation process is by far more straightforward than installing traditional fireplaces.
- Match every home-Recessed electric fireplaces come in numerous design options. That ensures you can maintain style when acquiring a recessed electric fireplace. You will surely find a unit that ticks every checkbox of your design and style requirements.
Conclusion
Aren’t electric fireplaces just works of art? They improve the ambiance of a room and provide heating without using up any space in the room, making them ideal for apartments or houses with limited space. That is possible since the unit is embedded into the wall. In this article, we have given a detailed guide on how to install recessed electric fireplaces and many more.
Frequently Asked Questions
Do recessed electric fireplace units need venting?
No, recessed electric fireplaces, like all electric fireplaces, do not operate with a real flame and, therefore, have zero emissions. That means they do not need any form of venting as traditional fireplaces do
Do you need professional assistance when installing a recessed electric fireplace unit?
No, you can install a recessed electric fireplace as a DIY project. Nonetheless, you will need assistance if you want to install your unit on a load-bearing wall or want your unit hardwired.
How much depth do you need to install a recessed electric fireplace?
Suppose you intend to cut into the wall to accommodate your electric fireplace. You must identify how deep your preferred unit is. Typically, electric fireplaces range between 4-9 inches for contemporary models, while traditional ones usually reach up to 17 inches deep.


